Control Smoke Rings on Portable Pellet Grills
By Luca Bianchi • 19th Mar
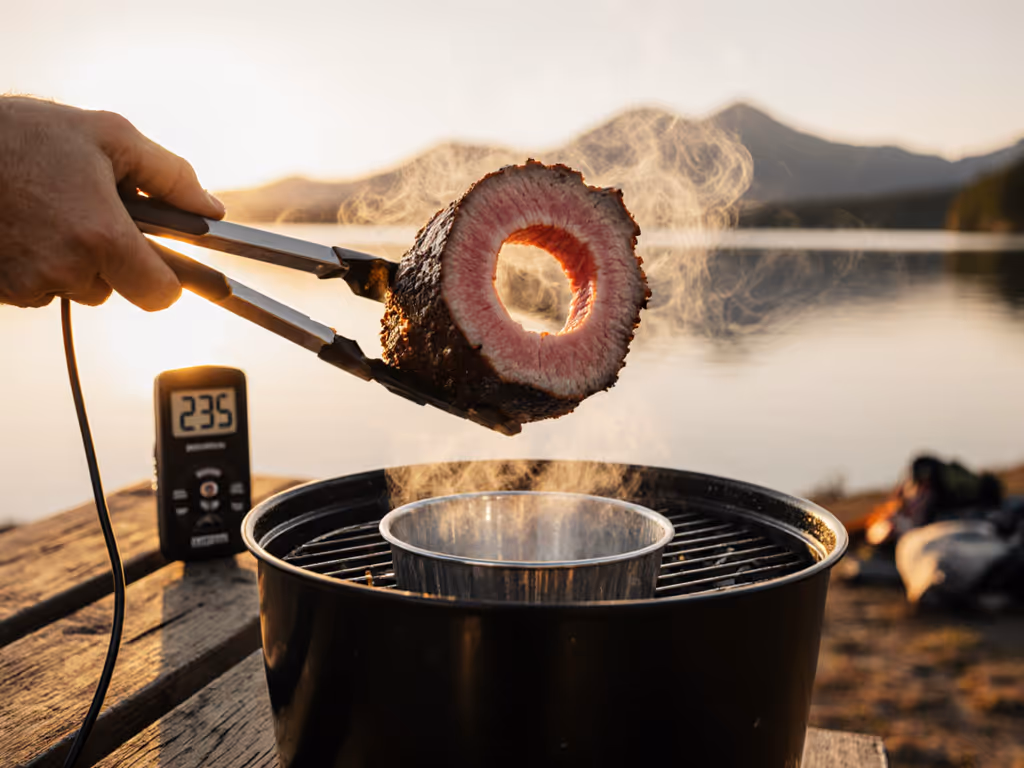
Achieving a portable smoke ring on a compact pellet grill isn't about chasing bigger temperatures or larger rigs, it's about mastering the science of moisture, timing, and thermal consistency across your specific cook zone. For travelers and small-footprint cooks, understanding the chemistry that builds that deep russet outer layer transforms what could be a hit-or-miss sideshow into repeatable, pack-to-plate flavor.
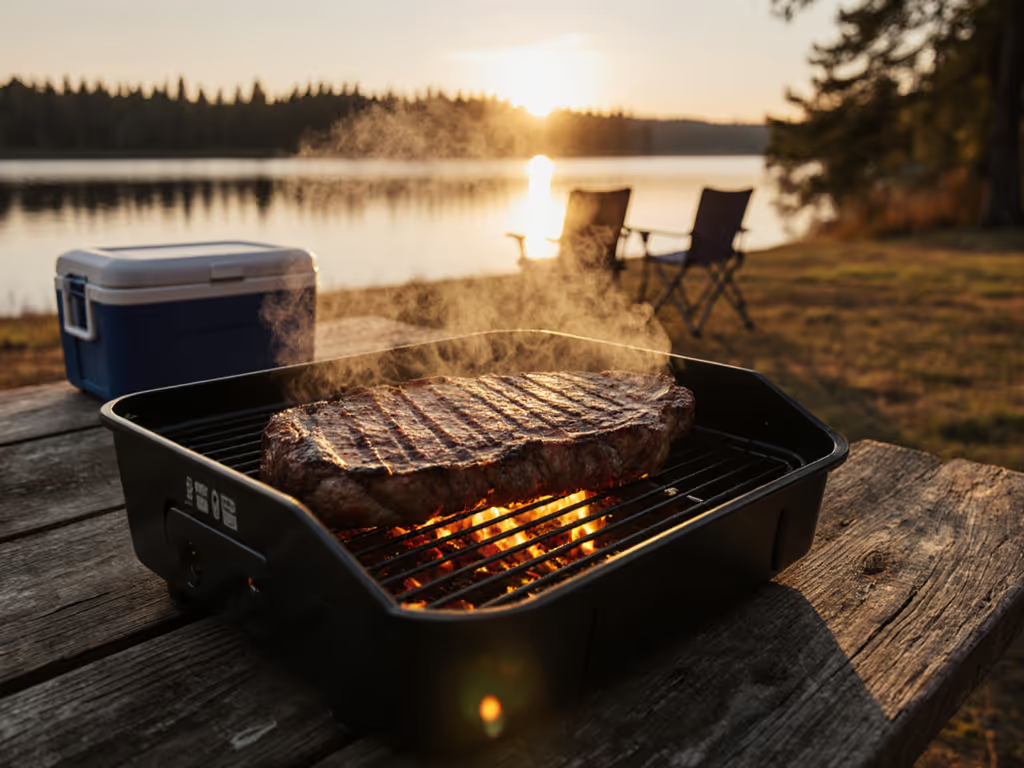
A smoke ring forms through a chemical reaction, not visual illusion. When smoke compounds (particularly nitrogen oxides in wood smoke) meet the meat's surface proteins under specific conditions, they create a stable pink-to-red band that signals low-and-slow precision.[1] On a portable pellet grill, where every BTU and second of preheat counts, control beats raw power. If wind or terrain complicates your setup, see our windproof temperature control guide for portable grills. That's the real lesson from setting up a compact cast-iron plancha on a mountain pass, wind cutting through fingers, watching asparagus blister and trout sear while passing drivers became diners. The technique stayed the same whether the stage was a 40,000 BTU beast or a disciplined, modular rig. Temperature management and moisture discipline deliver.
The Core Science: Temperature and Time Windows
Why Lower Temps Matter First
Smoke ring formation is a race against heat. The chemical reaction that binds nitrogen compounds to your meat's surface happens most effectively under 145 degrees Fahrenheit.[1] This is non-negotiable. Once the internal temperature climbs past that threshold, the myoglobin-nitrite bond stabilizes, and no additional smoke, no matter how fragrant, will deepen the ring further.[1]
For a portable cook managing a smaller thermal mass, this constraint is actually liberating. You're not trying to hold 225°F across a cavernous chamber; you're precision-aiming at 220-240°F in a compact, responsive cooker. Pellet grills excel here because their feed mechanisms allow slow, steady heat without oscillation. If your grill swings from 200°F to 260°F, you'll overshoot the ring window during the temperature climb and lose ring density on the backside.
Cold Meat Creates Smoke Adhesion
Here's a tactical detail that separates field-tested cooks from enthusiasts chasing specs: starting with cold meat dramatically improves smoke absorption during the first 3-4 hours of the cook.[3] When you pull protein straight from refrigeration and place it on a preheated cooker, the thermal shock creates condensation on the meat surface. That moisture film acts like a magnet for smoke compounds, pulling them into the surface layers before the bark forms.[6]
On a portable grill, this means prep-ahead discipline. Season your brisket flat or whole shoulder the night before, wrap it, chill it, then move it to your cooker while it's still cold, not at room temperature. For backcountry or dock-side cooks, this also means carrying insulated dry-goods storage or timing your pack-to-plate workflow so the meat travels cold in transit.
Moisture Management: The Controllable Variable
Water Pans and Spritzing Strategy
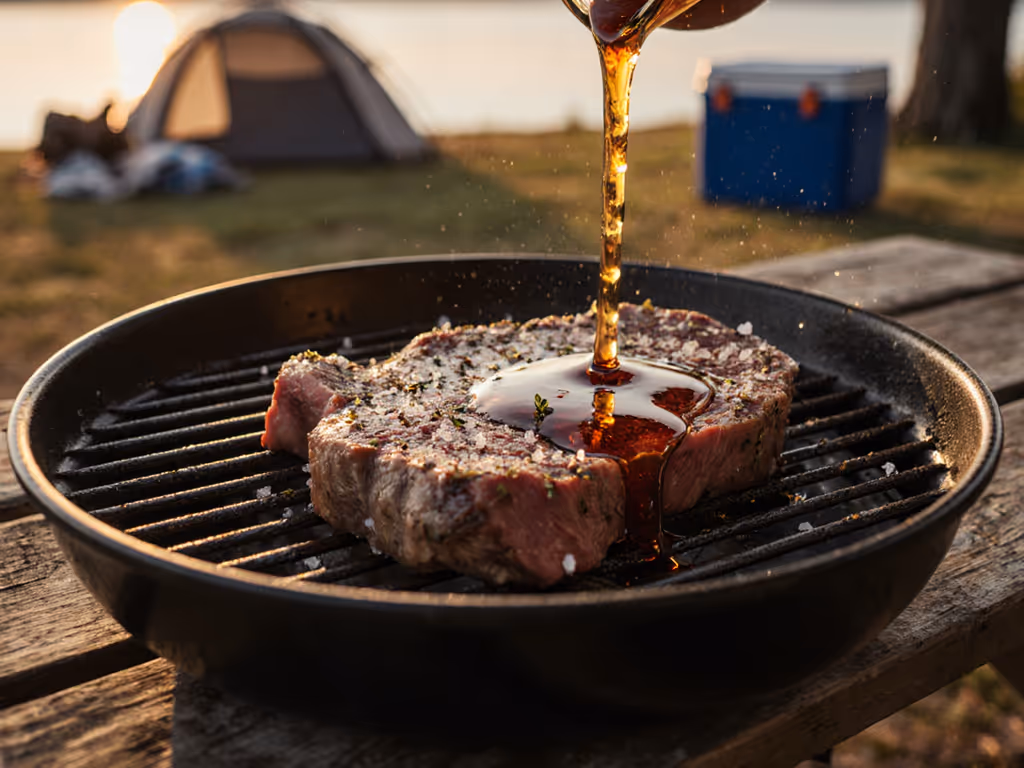
Moisture is your second control lever. A moist meat surface clings to nitrogen compounds in the smoke, pulling them deeper into the meat; a dry surface acts as a roadblock.[6] But moisture management on a portable cooker demands precision, not guesswork. For the chemistry behind smoke adhesion and flavor formation, dive into our portable smoke flavor science.
For the first 2-3 hours of a low-and-slow cook, maintain a water pan in your grill. This accomplishes two things: it stabilizes ambient humidity around the meat, and it prevents the meat surface from drying out under radiant heat.[1] On compact rigs, a shallow aluminum pan tucked to the side of the firebox takes minimal space and integrates cleanly into pack-away.
After the initial hours (roughly when internal temp reaches 140-145°F) switch to spritzing.[5] A spray bottle with water (or the mop sauce of your choice) applied every 30-45 minutes keeps the surface tacky without creating steam-dominated conditions that blur the bark texture. This transition matters on portable grills because you're managing both time and fuel efficiency; a water pan running the entire cook burns extra fuel just boiling water.
Spritz Discipline and Bark Development
Don't treat spritzing as constant. Apply it in two or three deliberate passes, then back off. The goal is to re-wet the surface just as it begins to set, not to keep it perpetually soggy. Between spritz intervals, let the exterior firm. This is where bark begins to form and where the visual appeal of the smoke ring becomes locked in.
Wood Selection and Pellet Choice
Real Wood, Predictable Smoke
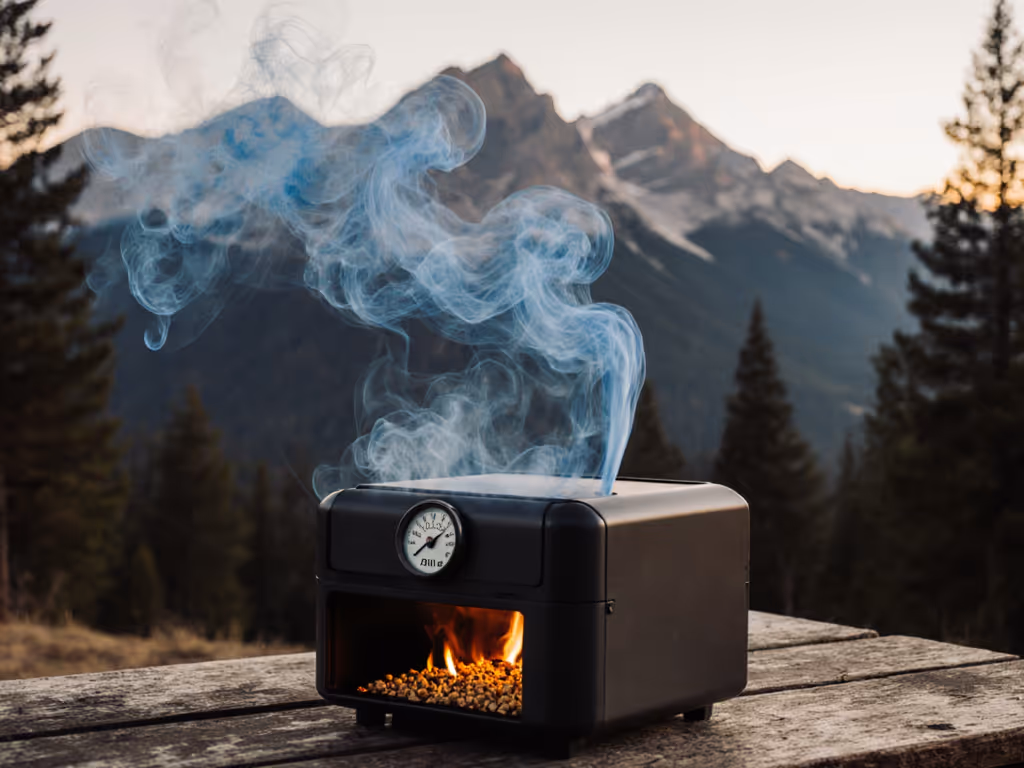
Pellet grills inherently solve a major portable-grill friction point: fuel consistency and ignition reliability. Unlike charcoal or wood chunks (which vary by moisture, size, and source) pellets compress uniform wood material at a standardized density. This means heat output and smoke flavor become predictable across cooks.[1] For a traveling chef, predictability is currency. For model picks proven to deliver strong smoke on the go, see our best portable pellet grills for camping.
Hickory and pecan pellets produce deeper, more robust smoke compounds that develop stronger rings than lighter woods like apple or cherry.[4] If your portable cooker's fuel is flexible, stock hickory as your baseline for smoke-ring-focused cooks. Pecan shells offer a slightly sweeter profile while maintaining the nitrogen-compound depth you need. Avoid mixing pellet types mid-cook; stick to one wood for the duration so the smoke signature remains steady.
Thermal Consistency as a Smoke Advantage
Pellet grills like Traeger or Pit Boss maintain temperature within a narrow band (typically ±10°F) because they modulate auger feed rates automatically.[2][3] This consistency is a hidden smoke-ring advantage. With stable heat and no temperature swings that overshoot your ring-formation window, every hour of the cook is productive. Compare this to offset smokers or kettle grills with manual airflow, where wind or operator distraction can spike temperatures and squash your ring development.[3]
Comparative Approaches: When to Use Moisture vs. Curing Salts
Natural Moisture Route (No Additives)
The moisture-and-time approach (cold meat, water pan, spritzing, pellet-driven steady heat) produces authentic smoke rings through pure chemistry. It's repeatable, requires no specialty ingredients, and aligns with pack-to-plate simplicity. If you're traveling light and don't want to carry extra compounds, this is your path.
Trade-off: Requires 3+ hours at temperature to build a visually striking ring. On a time-compressed tailgate or beach session, this might not deliver the depth you want.
Curing Salt Acceleration (Nitrites and Nitrates)
Morton's Tenderquick or Pink Curing Salt forces the nitrogen-compound reaction artificially by introducing nitrites directly into your rub.[1] Applied in small doses (1/4 to 1/2 teaspoon per pound of meat) before cooking or dusted on and rinsed after 30-60 minutes, these salts chemically bind to the meat surface and mimic what hours of smoke exposure does naturally.
Trade-off: Adds salt to your ingredient list, changes flavor profile slightly, and requires label reading to avoid oversalting. Not ideal for all cuisines or palates.
Middle Ground: Celery and Nitrate-Rich Rubs
Celery seed, celery salt, and celery juice contain naturally occurring nitrates and serve as a bridge between pure moisture methods and commercial curing salts.[1][5] A tablespoon of ground celery seed in your dry rub adds nitrate chemistry without the metallic edge of synthetic salts. For portable cooks who want ring-building chemistry without carrying specialty bottles, this is a pragmatic middle path.
Heat-Zone Management on Compact Cookers
Single-Zone Precision Over Multi-Zone Complexity
Portable pellet grills rarely offer multi-zone heat distribution in the way full-size offset smokers do. Instead, they excel at holding a single, stable temperature. For smoke rings, this is an asset. You're not fighting hot and cold spots; you're maintaining uniform conditions across your modest cook space.
Make peace with single-zone. Position your meat away from the direct heat source (or drip shield if available) to minimize radiant flare. If your cooker has a deflector plate or barrier between firebox and grate, use it. This distributes heat and smoke more evenly across the small footprint.
Preheat Timing and Temperature Stability
Full preheat matters. Bring your portable cooker to target temperature (220-240°F) at least 15 minutes before meat arrives. This allows the chamber to stabilize and the pellet-feed system to settle into a steady rhythm. On a windy day or cold morning, extend preheat to 20-25 minutes. Temperature swings during the first hour often kill ring formation before it starts.
The Final Verdict: Controlled Smoke Rings on the Road
A beautiful smoke ring on a portable pellet grill comes down to three non-negotiable elements: cold meat at the start, stable sub-145°F temperatures for at least the first 3-4 hours, and consistent moisture management through water pans and strategic spritzing. Add quality pellet fuel and respect the temperature window, and you'll achieve rings that rival full-size smokers (without the bulk or fuel-consumption overhead). Curious how pellet smoke rings stack up to charcoal on compact units? Check our pellet vs charcoal flavor test.
For the traveling cook managing limited space, fuel sourcing anxiety, and pack-to-plate workflow, the portable pellet grill removes the biggest friction point: unpredictable heat. That predictability, married with the technique above, transforms smoke rings from a gamble into a repeatable signature on every cook. Your audience won't taste the ring directly, but they'll taste what it signals: discipline, control, and confidence in your thermal mastery. That's the real badge of honor.