Portable Grill Food Styling: No Flare-Up Shots
By Amina Haddad • 17th Nov
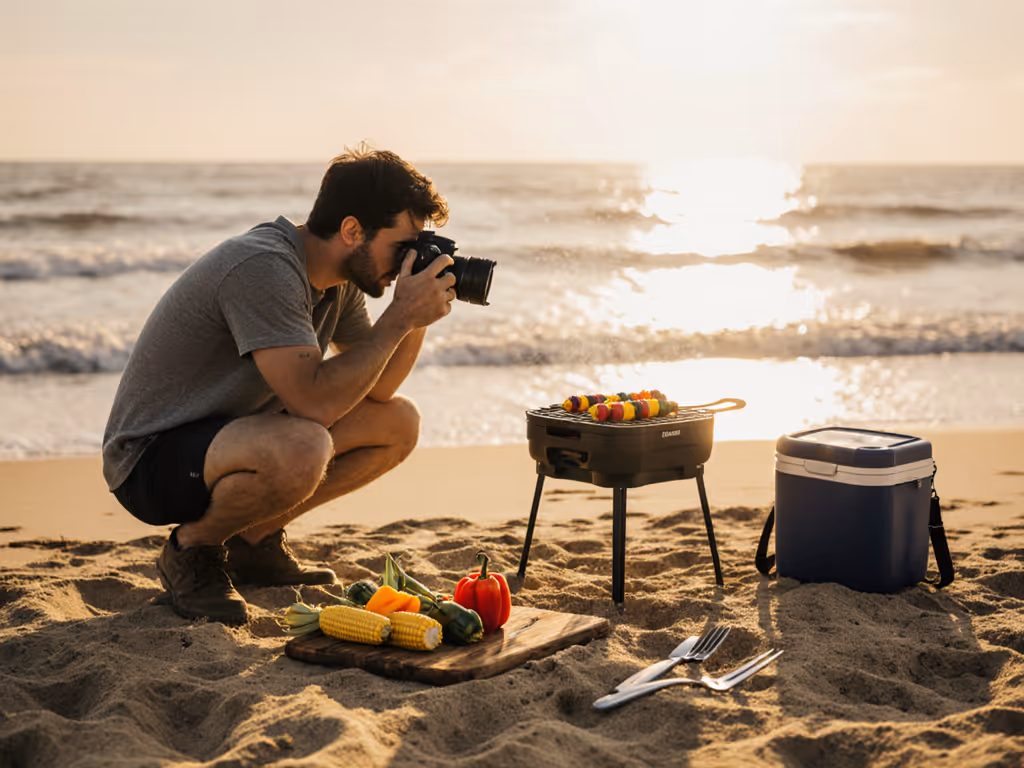
If you've ever tried to capture those perfect food-photography grill moments with your portable travel grill, you know how quickly flare-ups can ruin your shot. As someone who plans meals around shifting fire restrictions on river trips and coastal camps, I've learned that the best outdoor food styling isn't just about composition; it's about compliance, containment, and clean pack-away. The reality is simple: your photo-worthy moment disappears when smoke billows uncontrollably or a ranger intervenes. With thoughtful preparation, you can create mouthwatering images that also meet every regulation, proving that joyful outdoor cooking leaves no trace and meets the rules every time.
How do I prevent flare-ups from ruining my outdoor food photography?
Flare-ups create dramatic, but problematic, photography conditions. They obscure your subject with smoke, create inconsistent lighting, and most importantly, violate fire safety regulations in many public areas. When grease ignites unexpectedly, you've lost control of both your cook and your compliance status.
The solution lies in understanding grease management as part of your composition strategy. First, trim excess fat from proteins before cooking (this isn't just about health, it is fire prevention policy). Second, position your food strategically away from direct flame zones. Many portable travel grills have adjustable height mechanisms; use them to create space between fuel source and food. For step-by-step heat stabilization outdoors, see our portable grill temperature control guide.
Pro tip: For location grill photography, prepare a small squeeze bottle of water only for photography purposes. A light mist can momentarily suppress flare-ups for that perfect shot, but never use it as a substitute for proper grease management. Remember that excessive water on hot coals or burners violates fire safety protocols in many jurisdictions.
What are the fire regulation considerations for location-based grill photography?
When setting up your shot, you're not just composing a photo, you are also operating within a legal framework. Many people assume that because they're using a portable fire pit and grill, they're automatically compliant. This couldn't be further from the truth.
Check local regulations before you arrive. For a safety checklist specific to portable setups, read our portable grill safety guide. Many parks, beaches, and campgrounds have specific fuel type restrictions (propane vs. charcoal), containment requirements, and seasonal fire bans that affect your photography session. The U.S. Forest Service's "Campfire Finder" tool shows real-time restrictions, while many state parks update their websites daily during high-risk seasons.
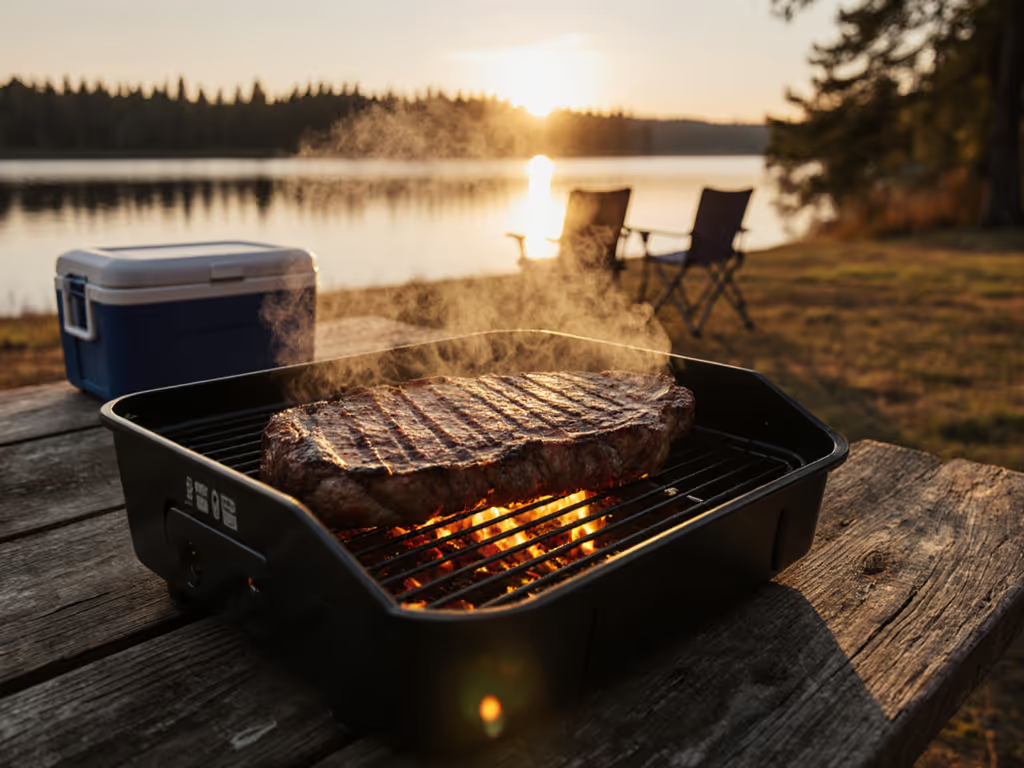
When photographing your setup, position your equipment completely within an existing fire ring if available, or create a perfectly circular rock barrier at least 10 inches high with a 3-foot clearance on all sides. This demonstrates regulatory compliance in your image while creating a visually pleasing compositional element.
Heat you can explain to a ranger, pack you can trust.
How can I manage wind challenges when shooting grilled food outdoors?
Wind creates dual challenges for outdoor food styling techniques: it affects both your cooking process and your photography conditions. On a recent river trip, conditions changed mid-float when fire restrictions tightened unexpectedly, but our contained cooking setup handled both the new rules and the gusts.
For wind management that works for both cooking and photography:
- Position your portable grill with the wind at your back
- Use a purpose-built windscreen that doesn't touch the grill body (touching creates hot spots and fire risk)
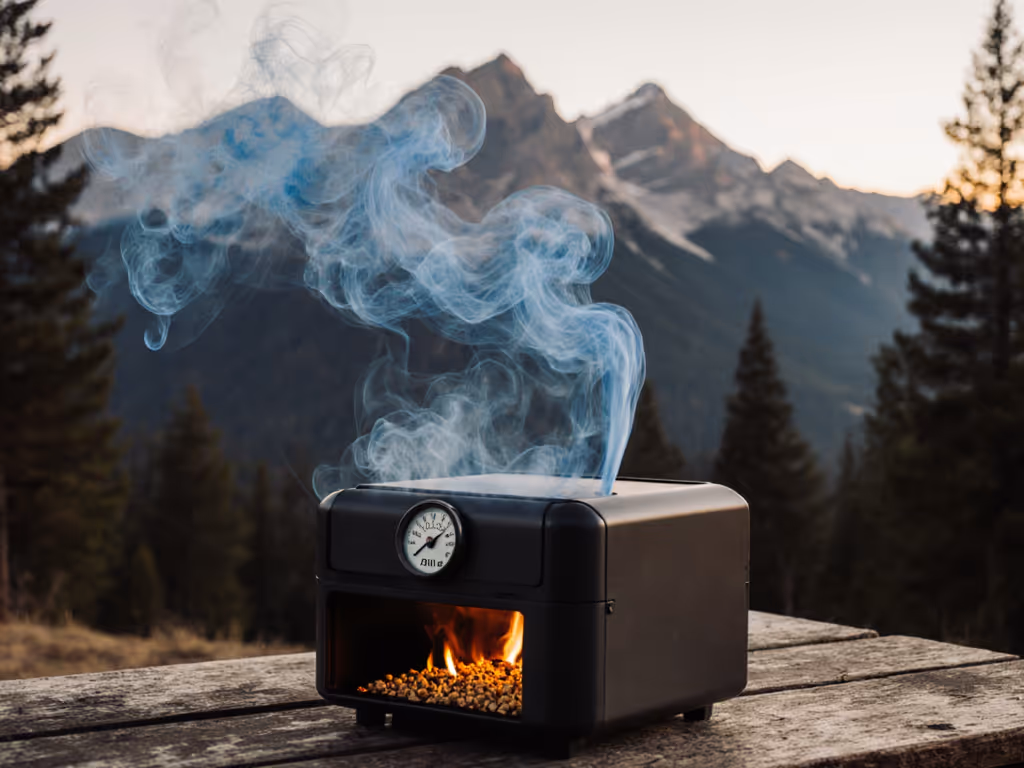
- Time your shots between gusts, and watch for when smoke rises straight up
- Keep your camera equipment in a dry bag when not in use to prevent ash contamination
Remember that wind affects grease management too. Stronger breezes can carry embers farther, potentially violating "no ground fires" regulations even with contained systems. Your location grill photography should always demonstrate responsible ember containment. Get 7 field-tested fixes in our windy-day grilling guide.
What cleanup considerations should I make for photo-ready portable grills?
The most embarrassing moment for any outdoor photographer? When your "perfectly styled" portable grill setup leaves behind evidence that contradicts your message. Real outdoor food styling includes planning for post-photography cleanup.
Create a two-minute cleanup checklist:
- Allow grill to cool completely before packing (safety first)
- Use a metal scraper to remove food debris into a dedicated container
- Wipe grates with a damp cloth (not paper towels that might tear)
- Empty ash/grease catchers into a sealed metal container
- Verify no embers remain before final pack-away
This isn't just about aesthetics (it is regulatory compliance). For gear-safe methods and pack-out workflows, see our portable grill cleaning guide. Many parks require you to "pack out what you pack in," including all cooking residues. Your photo shouldn't tell one story while your cleanup tells another.
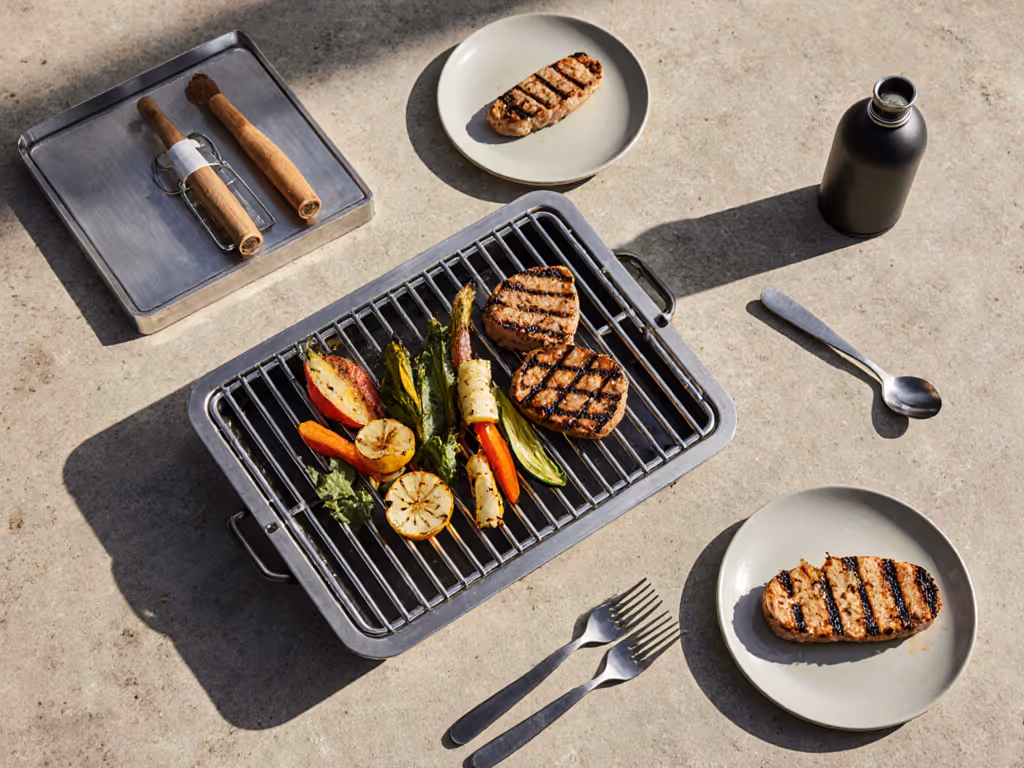
How do I choose rust-resistant materials that maintain visual appeal?
Your portable grill isn't just a cooking tool; it is part of your visual composition. Rust and corrosion undermine both functionality and photogenic quality, especially in coastal environments where salt accelerates deterioration.
When selecting equipment for managing flare-ups for photos while maintaining visual integrity:
- Look for stainless steel grates (304 grade minimum) that resist rust while providing clean sear lines
- Avoid painted surfaces that chip, revealing corrosion-prone metal underneath
- Choose ceramic-coated components for consistent heat distribution and visual appeal
- Test materials with saltwater exposure if you frequently shoot near oceans
From experience with kayak expeditions in coastal areas, I've found that stainless steel maintains its visual appeal much longer under harsh conditions, making it ideal for professional-looking food photography grills that stand up to repeated use. If you often shoot near the ocean, consider our salt-resistant portable grill picks.
How can I style food for photography without compromising safety or regulations?
The most compelling outdoor food styling techniques respect both visual appeal and fire safety protocols. When I helped document a multi-day river trip last summer, we captured incredible food photography moments precisely because we prioritized regulatory compliance from the start.
Key strategies:
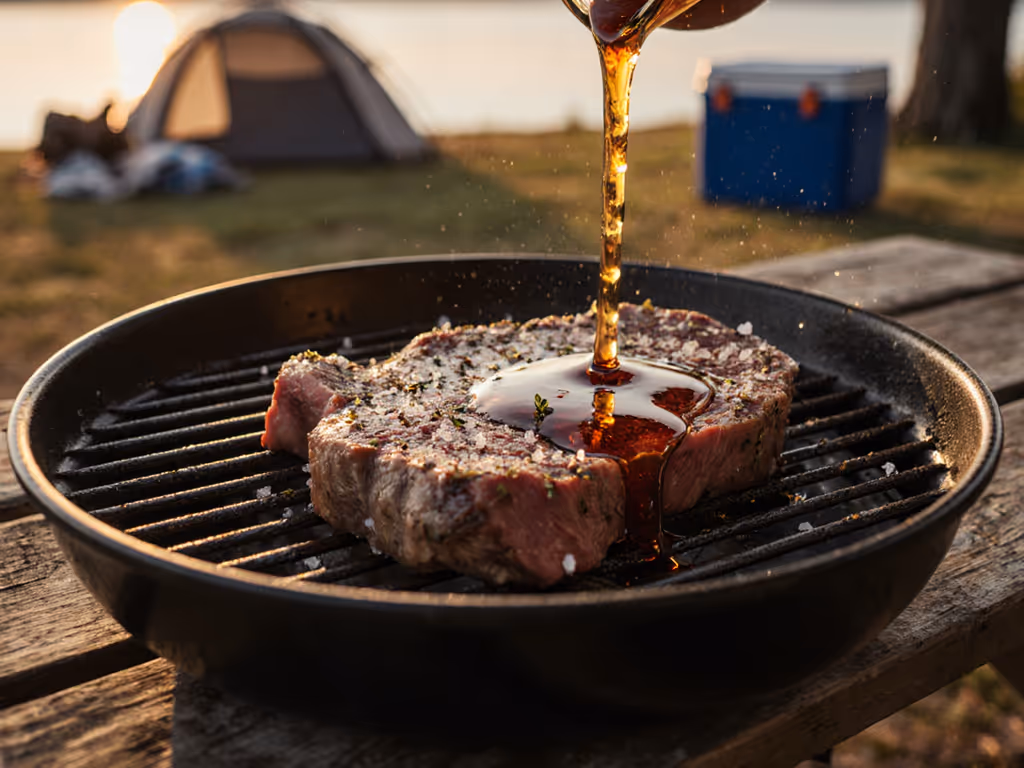
- Time your "hero shot" before adding food to the grill, capture the clean setup first
- Use controlled smoke elements (smoke tubes, not uncontrolled flare-ups) for dramatic effect
- Keep your cooking area uncluttered; this is both visually appealing and regulation-compliant
- Position fire safety equipment (extinguisher, water source) just outside the frame
This approach ensures your images showcase responsible outdoor cooking while maintaining editorial integrity. Remember that staged fire violations, even for photos, can damage your credibility and potentially lead to real consequences if shared publicly.
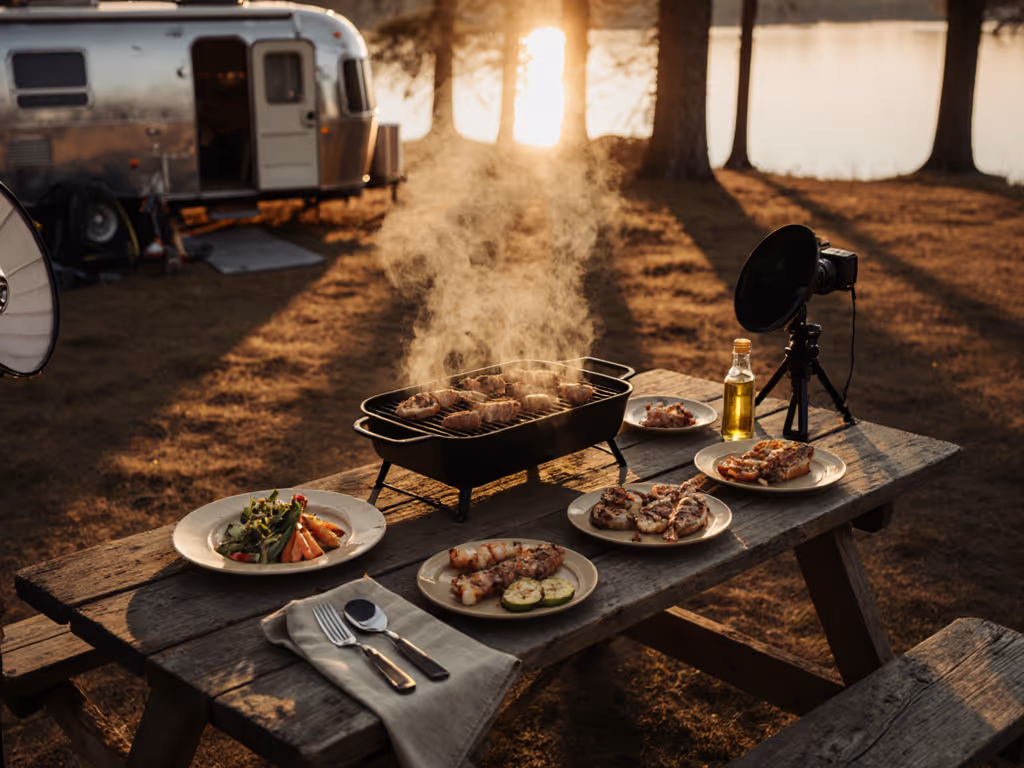
What are the best lighting techniques for outdoor grill photography that also comply with fire restrictions?
Lighting makes or breaks your outdoor food photography, but your approach must respect fire safety protocols. Never use flash directly on the grill, because reflected glare obscures texture, and the practice suggests you're compensating for poor natural lighting conditions that might indicate unsafe cooking practices.
Instead:
- Shoot during golden hour when natural light is soft and directional
- Position yourself so the sun illuminates the food, not the grill mechanism
- Use a reflector card to bounce light onto shadowed areas
- Wait for the perfect moment when smoke rises cleanly without flare-ups
This approach creates professional images while demonstrating regulatory compliance, and your photos will show a controlled cooking environment that respects fire safety protocols.
Final Thought: Style with Integrity
Great outdoor food styling merges technical skill with regulatory awareness. Your most compelling images come not from bending rules for dramatic effect, but from mastering the art of cooking within them. When your portable travel grill setup demonstrates both culinary creativity and regulatory compliance, you create images that inspire others to cook responsibly outdoors.
Remember that the best food photography grills tell stories of respect for fire regulations, for natural spaces, and for fellow visitors. Next time you're setting up for that perfect shot, run through your compliance checklist first. Your images will be stronger, your impact more positive, and your adventures more sustainable.
Further Exploration: Check your local land management agency's website for current fire restrictions before your next photography outing. Many parks offer free workshops on outdoor cooking safety that double as excellent composition clinics with experienced rangers.