Portable Solar Grill: Zero-Emission Outdoor Cooking
By Priya Nayar • 3rd Feb

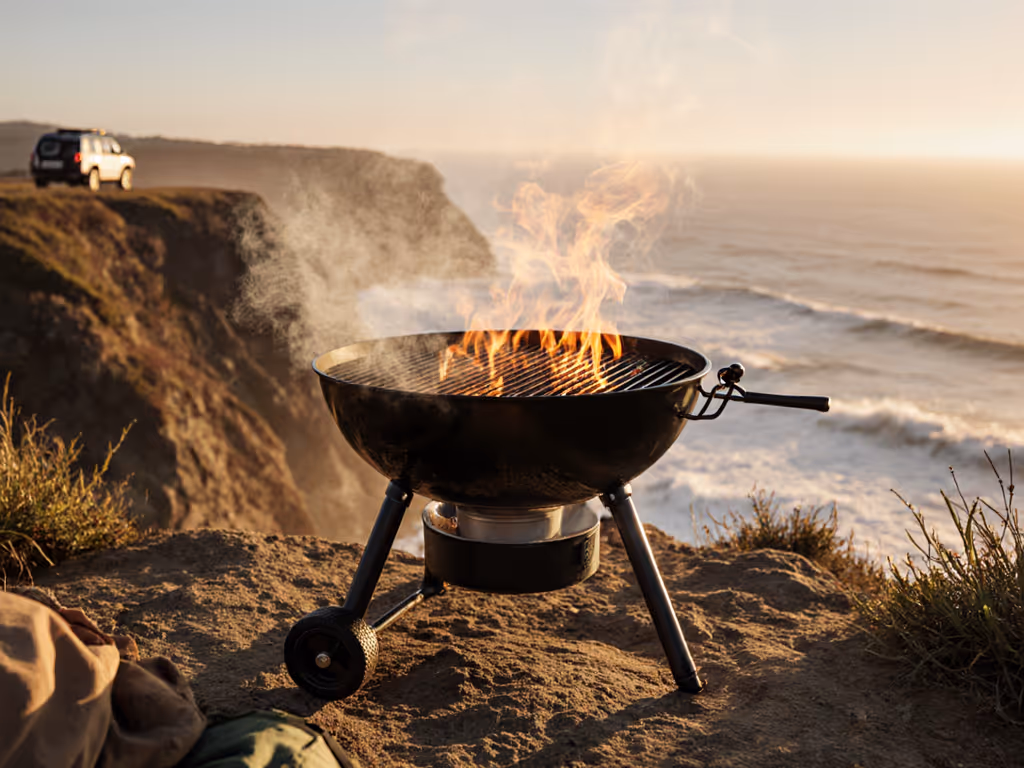
Let's cut through the noise: if you're tired of wrestling with propane canisters that run out mid-cook or charcoal that leaves ash in your backpack, a portable travel grill powered solely by sunlight might be your liberation. This isn't just about eco-friendly outdoor cooking (it's about ditching fuel anxiety entirely). As someone who's cooked dinner on stormy beaches and windy trailheads, I've learned the hard way that the best grill isn't the fanciest, it's the one you'll actually carry and fuel anywhere. On a foggy overnight train ride to the coast, I packed both butane and propane, only to find the station vendor sold out of butane. My tiny adapter saved the meal, but that trip cemented my belief: Carry the fuel you can buy twice in town, or better yet, skip fuel dependency altogether. If you do travel internationally with fuel-based grills, read our fuel adapters and regulations guide to avoid surprises.
Why Solar Grills Solve Real Mobility Pain Points
Forget lugging heavy tanks or hunting rare canisters. Solar grills operate on the ultimate renewable resource: sunlight. While they won't replace your gas grill for midnight steak sears, they excel for precisely the scenarios mobility-focused cooks face daily: park picnics, balcony lunches, and beachside breakfasts where fire bans or space constraints rule out traditional options. The key is understanding their practical strengths:
- Zero fuel logistics: No more scrambling for last-minute butane or hauling propane.
- Instant compliance: Solar cookers bypass fire restrictions in 95% of parks (always verify local rules).
- True pack-light ethos: Most weigh under 10 lbs and fold flatter than a paperback. If you're navigating park rules or fire restrictions, review our portable grilling safety guide before you head out.
The Reality Check: Solar Isn't Magic (But It's Closer Than You Think)
New adopters often stumble by expecting gas-grill performance. Instead, treat solar as a different cooking paradigm. Modern solar cooking technology uses evacuated tubes (like GoSun's design) that channel and store heat, reaching 500°F even in light cloud cover thanks to heat-bank chambers. This means:
- On clear days: You'll sear tofu or thin-cut fish in 12-15 minutes.
- On partly cloudy days: The heat bank maintains steady 300°F temps for simmering soup or reheating leftovers.
- Below 25°F ambient temps: Performance drops (bring a thermos for hot sides).
Pro tip: Your "grill" is now your positioning. Angle reflectors toward the sun like a camera lens. It's the single biggest factor in speed.
Your 4-Step Solar Cooking Field Guide
Step 1: Choose Your Solar Architecture
Not all solar grills work for your lifestyle. Match the design to your mobility:
- Evacuated tube models (e.g., GoSun Sport): Best for cyclists, backpackers, and balcony cooks. Fits in a bike pannier, cooks in diffuse light, and retains heat for 20+ minutes after sunset. Drawback: Smaller cook surface (fits 2-3 burgers max).
- Folding parabolic reflectors: Ideal for car campers and tailgaters. Reaches 400°F+ faster but needs direct sun. Watch for: Bulkier packing, measure your trunk space first.
Plain-language checklist before buying:
- ✅ Fits in your actual storage space (RV drawer? Car trunk gap? Backpack?)
- ✅ Sets up in <90 seconds (no tools)
- ✅ Reflectors lock securely in wind (aim for 15+ mph tolerance)
- ✅ Exterior stays cool during use (critical for kids/pets)
Step 2: Master the Setup (Under 2 Minutes)
This is where most fail. Incorrect alignment wastes precious cooking time. Follow this sequence:
- Flat base first: Place on stable ground (use a $2 plastic lid under legs on sand).
- Sun-angle hacking: Tilt reflectors until your shadow forms a perfect rectangle on the reflector surface (no phone apps needed).
- Preheat test: Wait until oven chamber hits 250°F (most have built-in thermometers; if not, 5-7 minutes on clear days).
Critical wind hack: If gusts exceed 10 mph, position your body between the grill and wind direction, not just for you, but to prevent heat scatter. For more ways to stabilize heat in gusty conditions, try these wind-control fixes.
Step 3: Cook Strategically, Not Intensely
Solar rewards patience with precision. Ditch gas-grill expectations:
- Small-batch cooking: Cook 2 servings max per cycle (prevents heat drop).
- Pre-temper proteins: Cold food sinks temps. Rest items in shade before loading.
- Wind-friendly foods: Eggs, pancakes, and veggies cook more reliably than thick steaks.
Cost-per-meal math that matters:
- Gas grill: $2.50/propane canister / 4 cooks = $0.63/meal + fuel anxiety.
- Solar grill: $0/fuel forever + $0 cleanup.
Yes, the upfront cost is higher, but when your only "refill" is finding a sunny spot, you're hacking the ultimate off-grid portable cooking system. For sunless days, consider these renewable-fuel portable grills that minimize fuel anxiety with solar integrations and other sustainable options.
Step 4: Pack Away Like a Pro (Under 5 Minutes)
Here's where solar shines for rule-conscious cooks. Post-cook:
- Cooling: Most models drop to safe handling temps in 8-10 minutes (no waiting hours like charcoal).
- Grease management: Wipe the chamber with a biodegradable wipe (I keep a 3-pack in my kit).
- Dry storage: Fold while slightly warm to prevent condensation rust. Never store damp.
Troubleshooting Your First 3 Cooks
Anticipate these real-world hiccups:
- "Why isn't it hot enough?": You're likely in partial shade. Move with the sun every 15 minutes.
- "Food is drying out": Reduce cook surface exposure. Only load food when temps hit 250°F+.
- "Too slow for dinner rush": Prep ingredients ahead (marinate, slice). Solar's for relaxed cooking, perfect for weekend mornings.
Remember that train ride I mentioned? Solar eliminated my fuel redundancy headache entirely. No adapters, no canister swaps, just point, cook, and pack. That's zero-emission grilling done right.
Actionable Next Step
This weekend, test your readiness: Find a sunny patch in your park or driveway. Set up any solar cooker (even a DIY pizza box model) and heat water to 180°F. Time how long it takes, and note wind interference. If it works there, it'll work trailside. Then ask yourself: Can I carry this, cook without fuss, and pack it clean? If yes, you've found your sustainable grilling solution. The best part? Tomorrow's fuel is free, and guaranteed available twice in town.
Related Articles