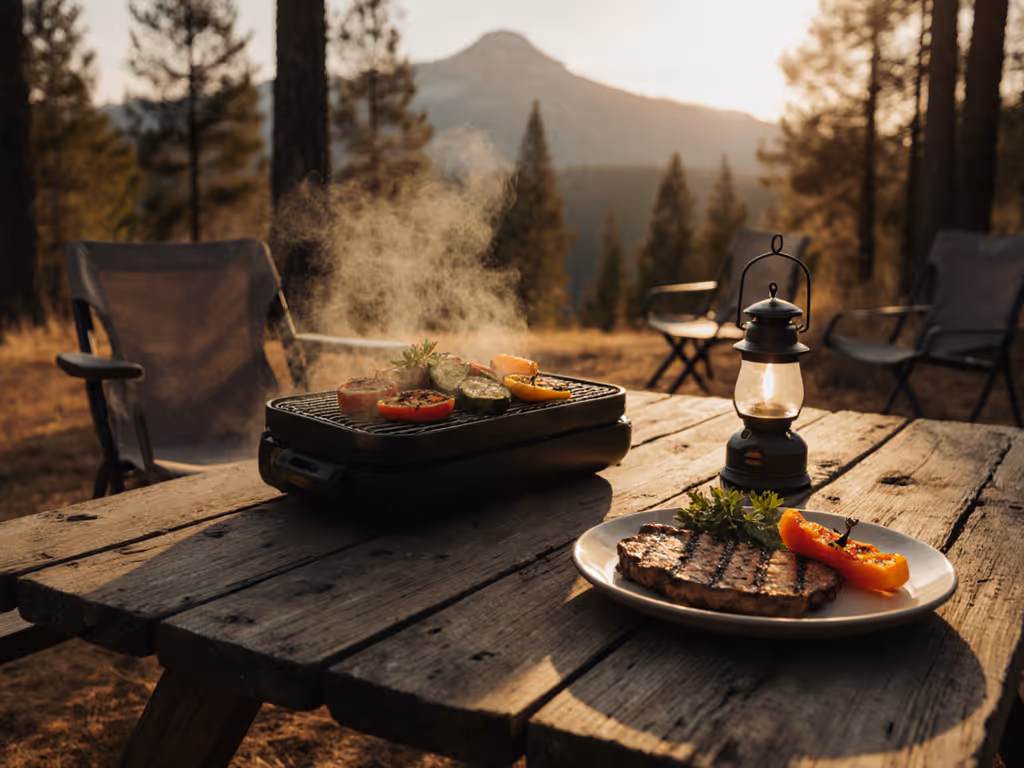
If you shoot food on the move, your portable travel grill is as much camera gear as it is cookware. The right content creator grill setup gives you repeatable heat, clean sear marks, and zero drama when the camera is rolling, whether you're on a balcony, at a beach lot, or parked at a windy overlook.
This guide breaks down, step-by-step, how to choose and run a flare-up free rig that fits your carry mode and your content. For pro-level composition and glare-proof plating, see our portable grill food styling guide. We'll compare several proven portable grills, then build out a compact, professional grilling setup tuned for creators who care about pack-to-plate flavor, not fuss.
Small grill, big control, taste follows temperature, not hype.
Step 1: Define your creator profile and constraints
Before obsessing over BTUs or brand names, match the grill to your actual work. That's how you avoid overbuying a beast that never leaves the garage, or a tiny burner that chokes when you need four burgers and a steak in frame.
1.1 Pick your primary use cases
Start with the scenarios where you film or shoot most often:
-
Urban / Suburban balcony + parks
-
1-4 people per cook
-
Likely gas-only rules on balconies; charcoal often restricted
-
Short sessions, limited storage
-
Car-based travel (parks, beaches, trailheads)
-
2-6 people
-
Trunk space, but still competing with other gear
-
Park rules vary: propane often ok, charcoal sometimes banned during fire season
-
Vanlife / RV / Overlanding
-
2-6+ people
-
Drawer or locker dimensions matter more than raw weight
-
May cook in wind, cold, and at altitude regularly
-
Bike / moto / public-transit + backpack
-
1-3 people
-
Weight target: ideally under 5-7 lb for grill + fuel
-
Setup must be simple and fast; limited water for cleanup
1.2 Clarify your content style
Your footage style also dictates the right rig:
-
Quick social clips (Reels / TikTok)
-
Need fast preheat and dramatic sizzle, not 4-hour smoke sessions
-
Emphasis on even, high-contrast grill marks
-
Recipe-driven YouTube / blog
-
Need consistency, repeatable temps, and enough space to cook full meals (protein + sides)
-
You'll benefit from multi-zone heat and a decent lid
-
Photography-first (stills, editorial)
-
You care about color and control more than flames
-
Flare-ups ruin both food and shots; matte, dark grates photograph best
List your top two scenarios and your dominant content style. Keep them in front of you as you evaluate grills.
Step 2: Know what makes a grill "creator-grade"
A good food blogger equipment kit isn't just portable, it's predictable. For on-location shooting, four factors matter more than raw BTUs:
- Heat density and distribution
- For gas, target 80-100 BTU per square inch of primary grate area for confident searing.
- Look for burners that run front-to-back rather than side-to-side; they create more usable zones.
- Wind and cold performance
- Deep firebox + tight lid + sidewalls beat high BTU figures on a shallow, exposed pan.
- In 10-20 mph wind, a shielded burner can hold temp while an open burner loses 20-40% output.
- Flare-up control
- You want a flare-up free grill, not just for safety, but for photos.
- Look for:
- Enamel-coated flavorizer bars or heat diffusers over burners
- Slightly V-shaped or closely spaced grates to channel fat
- A greased drip tray that's easy to pull and empty
- Photo-friendly surfaces
- Dark, matte cast iron or enamel produces strong, readable grill marks.
- Shiny, thin wire grates reflect light badly and don't hold heat; your grill marks will be faint and patchy.
When creators ask me what "photography lighting grills" look like in practice, I describe it this way: deep box, dark grate, minimal glare, and a lid that can act as a massive reflector when open.
Step 3: Pick the right grill for your content workflow (5 field-tested options)
Below, I'll break down five styles of portable travel grill that show up again and again in independent tests and in real creator kits. I'll use these criteria:
- Packability (size, weight, form factor)
- Setup speed (parking-to-flame time)
- Heat & control (searing, low-temp stability, wind)
- Flare behavior
- Cleanup
- Photo output (marks, color, reflections)
3.1 Weber Traveler - Trunk-ready workhorse for 2-6 people
If you drive to most shoots and want a single, trunk-ready grill that behaves like a shrunken backyard rig, the Weber Traveler consistently ranks at the top of portable gas tests.
Why it works for creators
- Packability: Full-height cart that folds flat, ~60 lb total. Not backpackable, but it slides into most trunks upright or flat without rattling. Integrated lid lock keeps it closed in transit.
- Setup speed: One-motion unfold. Realistically under 90 seconds from trunk to lit burner. Good when you roll up with a hungry crew watching.
- Heat & control: About 13,000 BTU across ~320 sq in. That's ~40 BTU/sq in on paper, but because of its compact firebox and efficient design, real-world searing is strong. Preheats to 500-550°F at grate level in ~10-12 minutes in mild conditions.
- Flare behavior: Enamel-coated flavorizer bars over burners and a sloped firebox push drippings into a tray. With trimmed proteins, flare-ups are rare and short.
- Cleanup: Pull-out drip tray, wipe grates while warm, fold and go. If you line the tray with foil before cooking, pack-away is under 5 minutes.
- Photo output: Cast-iron grates lay down bold, parallel marks. The dark enamel minimizes glare; great for close-up burger and steak shots.
Best for: Car-based creators, tailgaters, and small families who want one primary, professional grilling setup that lives in the vehicle and feels like a scaled-down home grill.
Weak spots: Too heavy for regular carrying more than a short distance. Single burner means less fine two-zone control (you can still work hotter and cooler regions, but not true independent zones).
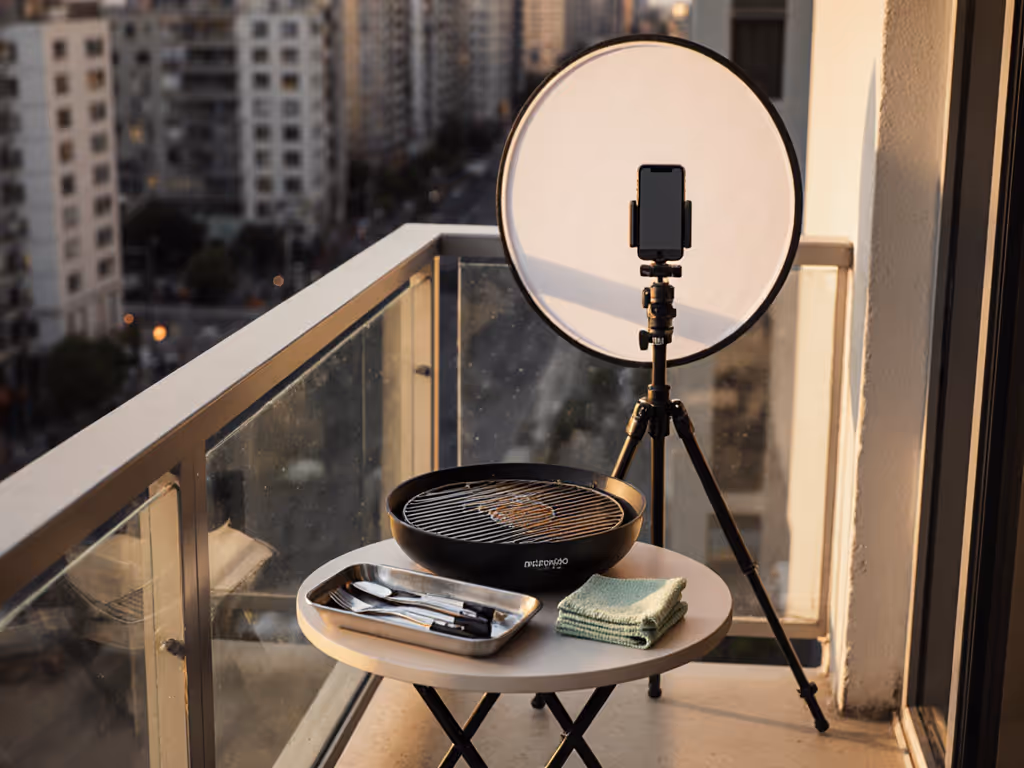
3.2 Cuisinart Venture (and similar cube gas grills) - Compact all-in-one for couples and balconies
Think of the Cuisinart Venture and similar picnic box grills as lunchbox-sized gas rigs with built-in cutting boards and carry handles.
Why it works for creators
- Packability: 20-25 lb range, compact cube footprint that fits easily in car trunks, RV drawers, or apartment closets. The handle makes one-handed carries realistic.
- Setup speed: 1-2 minutes. Pop off the lid/cutting board, plug in a small propane bottle, and hit ignition.
- Heat & control: Smaller burners (often in the 9,000-10,000 BTU range) under ~150-175 sq in of grate. That pushes BTU density high enough for solid sears, especially for 1-3 steaks or a batch of skewers. Limited space for two-zone cooking, though you can stage done items around the perimeter.
- Flare behavior: Short distance from grate to burner means you will see small flare licks if you crowd on very fatty cuts. But the compact lid vents and diffusers usually keep things manageable.
- Cleanup: Designed as food blogger equipment, with a cutting board, storage for the regulator, and relatively simple drip management. Grates lift easily for sink cleaning.
- Photo output: Excellent for tight, lifestyle-oriented shots: grill on a picnic table, cutting board on top, everything in one tidy frame.
Best for: Apartment dwellers, couples, and solo creators who focus on plated shots and don't need to feed six at once. If your building requires electric, compare options in our best portable electric grills for balconies.
Weak spots: Limited capacity for parties or wide Hero shots of a grate filled with food. Wind can affect temperatures more than with deeper fireboxes, so a small folding windscreen is a smart add-on.
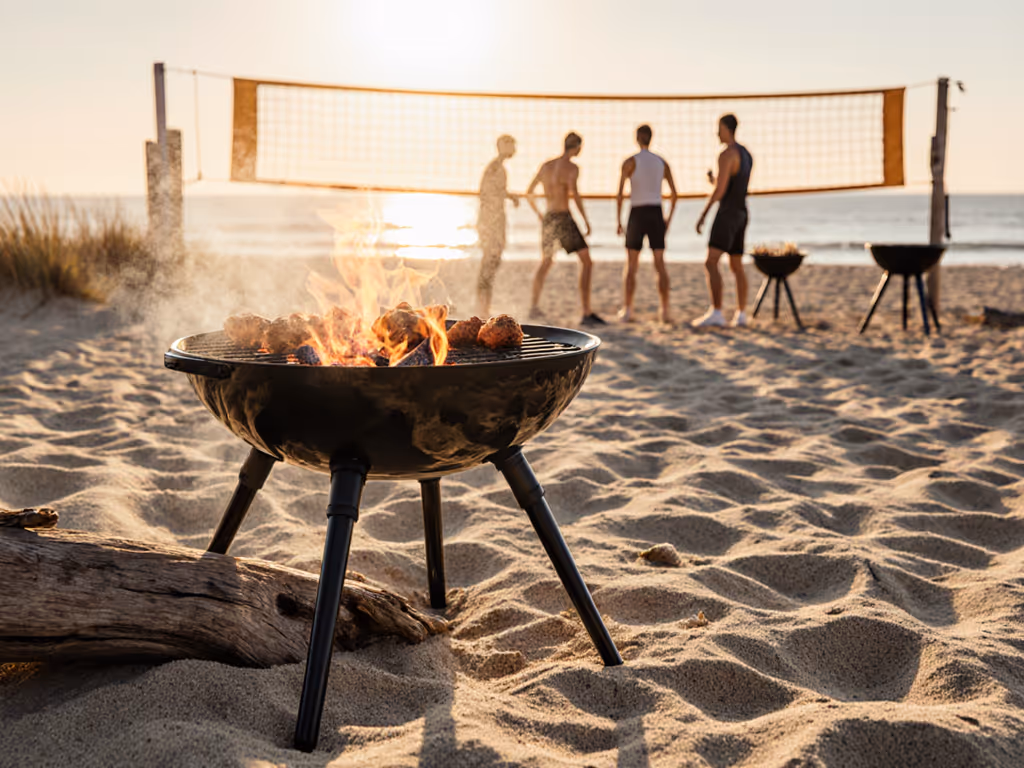
3.3 Everdure Cube - Charcoal drama with real control
Charcoal brings color and aroma you can't fake. The Everdure Cube is a compact charcoal box built specifically for portable grilling, with integrated storage and a cool-to-touch outer body.
Why it works for creators
- Packability: Briefcase-style unit around 15-17 lb. Integrated storage tray and bamboo prep board snap on top; no loose parts.
- Setup speed: Charcoal is the slowest fuel here, but with a half chimney of briquettes or quality lump and a fire starter, you're cooking in 15-20 minutes. Plan your B-roll while it comes to temp.
- Heat & control: Charcoal bed gives 600-700°F direct heat without effort. Two-zone fires are easy: pile coals to one side for sear, use the other for gentle finishing.
- Flare behavior: With charcoal, "flare-free" means placement and trimming. The Cube's deep body and lower grate height help, but if you drop a rack of untrimmed chicken thighs directly above a tall coal mound, you'll see flames. Trim excess fat, use the indirect side, and flare is minimal.
- Cleanup: Lift grates, dump ash into a metal container or heavy foil-lined pan. Interior wipes down easily. No greasy gas components.
- Photo output: Live coals under food photograph beautifully, especially at dusk. For creators wanting that primal feel without a full-sized kettle, this is a strong option.
Best for: Shoots where charcoal is allowed, and flavor + atmosphere matter as much as speed, beach cookouts, lakeside hangs, editorial lifestyle sets.
Weak spots: Not allowed in some fire bans and balcony rules; ash management takes more attention, and cooldown is slower than gas.
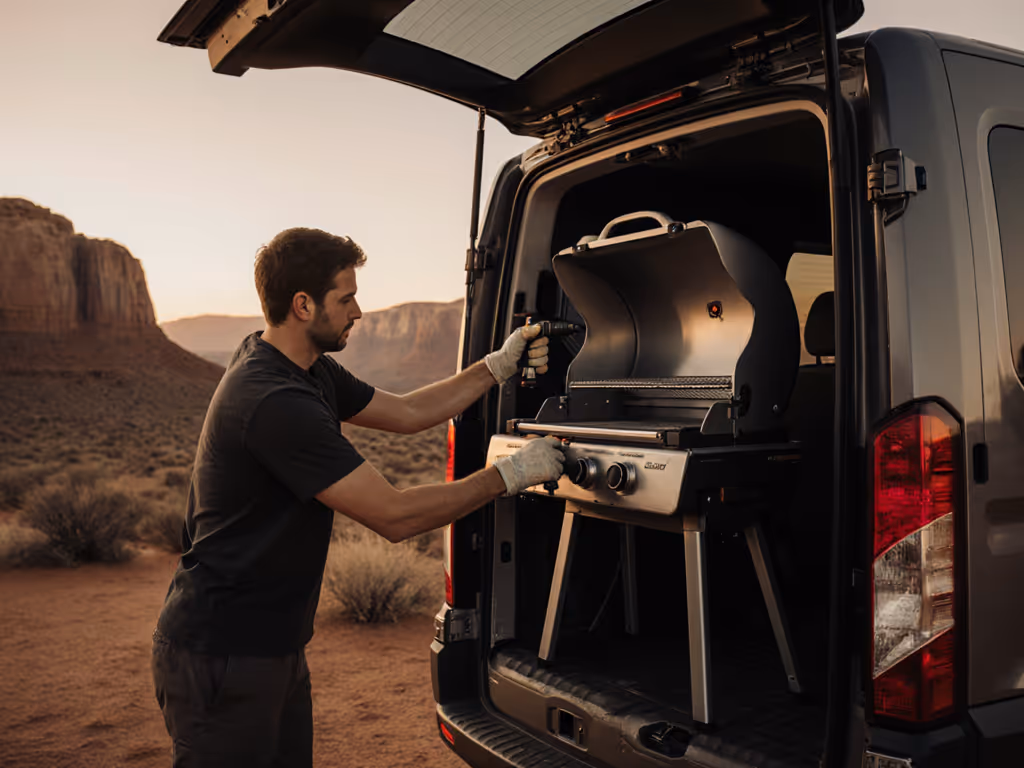
3.4 Hitchfire F-20 (and hitch-mounted grills) - Permanent rig for vehicles
Hitch-mounted grills like the Hitchfire F-20 bolt onto your vehicle's tow hitch, swinging out for use and living outside the vehicle when not cooking.
Why it works for creators
- Packability: Zero interior footprint; the grill lives on the hitch. Total weight is substantial, but you rarely actually carry it.
- Setup speed: Swing out, connect propane (if you don't leave it connected), ignite. Realistically, 2-3 minutes from parking to flame.
- Heat & control: Dual burners with around 20,000 BTU total and a mid-sized grate mean plenty of power and usable two-zone cooking for 4-8 people.
- Flare behavior: With dual burners and lid, you can sear on one side at higher output and hold the other lower, keeping flare under control. Solid grease tray system is key; keep it lined.
- Cleanup: More like a permanent grill, pull grease tray, wipe grates, swing back in. You'll want to do a deeper clean periodically since it lives in the elements.
- Photo output: The vehicle-mounted aspect itself becomes part of the story. It's a great visual anchor for overlanding, road-trip, and tailgate content.
Best for: Overlanders, vanlifers, and tailgaters who shoot a lot around the vehicle and want their grill always ready without packing and unpacking.
Weak spots: Overkill if you just want an occasional park cookout. You're adding weight and hardware to your vehicle full-time.
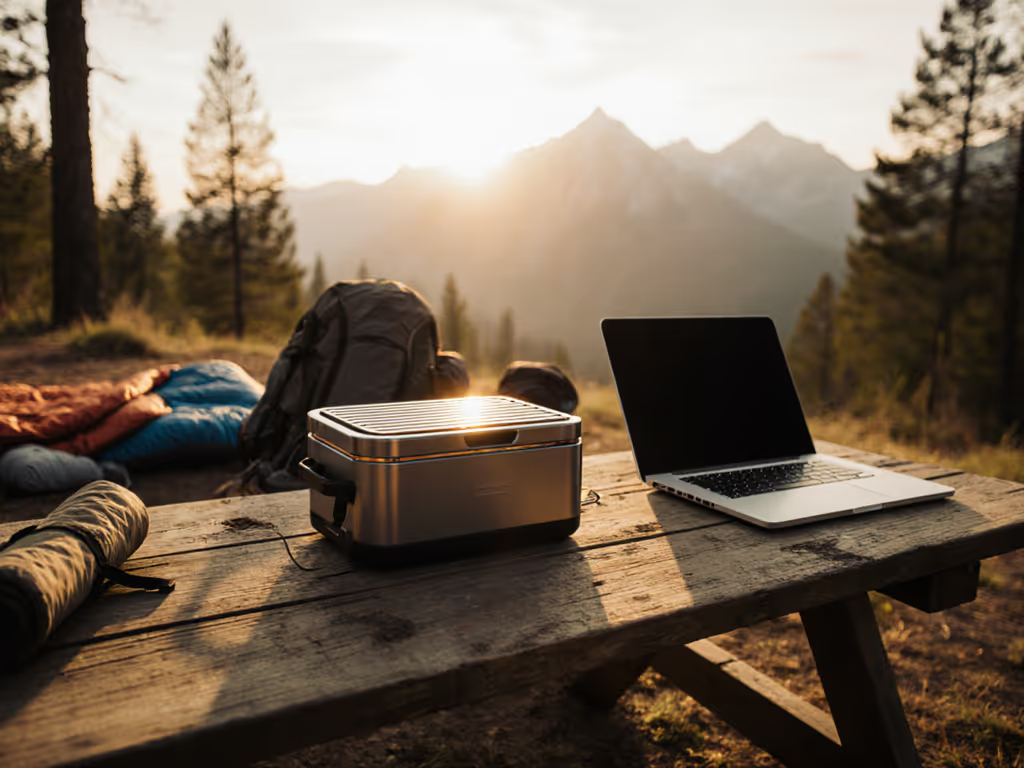
3.5 Ultra-compact flat-pack grills (Skotti-style) - Bike, moto, and backpack heroes
Flat-pack grills, thin metal panels that assemble into a small charcoal or gas box, solve one big problem: volume. They disappear into panniers or packs when not in use.
Why they work for creators
- Packability: Often under 7 lb and less than 1" thick when disassembled. Slides next to a laptop in a backpack.
- Setup speed: 3-5 minutes to assemble once you know the puzzle. Light charcoal or connect a small gas adapter, and you're cooking.
- Heat & control: The best versions use stainless or coated steel that holds heat surprisingly well. Surface areas are modest, but for 1-3 portions they deliver a real sear.
- Flare behavior: With charcoal versions, the shallow box can make flare more visible; you fight it with small coal loads and careful fat management. Gas versions with diffuser plates perform more like tiny standard grills.
- Cleanup: Let cool, knock off ash, wipe panels, and pack. Minimal crevices.
- Photo output: Small footprint means you can set up near the best natural light, not just where there's a picnic table. Fantastic for tight, story-rich framing.
Best for: Bikepackers, moto-tourers, and creators who are genuinely weight- and space-limited but still want real grill marks.
Weak spots: Feels fiddly until muscle memory clicks. Limited capacity; not the right tool if you often cook for 5-6 people.
Step 4: Build your content creator grill setup (modular and grab-and-go)
Now let's turn whichever grill you choose into a content creator grill setup that behaves like a mobile studio.
4.1 Core cooking module
- Portable grill (from the options above)
- Fuel:
- Gas: 1-2 small propane bottles, plus a backup lighter
- Charcoal: Small chimney, fire starters, 1-2 cook's worth of briquettes or lump in a sealed container
- Thermometer: Instant-read probe for protein; don't trust dome thermometers alone.
- Tongs + spatula: 12-16 in reach, locking, stainless.
- Heat-proof gloves: For adjusting grates, moving pans, or dealing with windblown heat.
4.2 Heat-zone and control tools
- Compact cast-iron plancha or griddle that fits your grill
- Gives you a hot, flare-proof surface for delicate items (fish, veg, buns).
- Small perforated grill pan for vegetables and small cuts.
- Folding windscreen (for gas especially) to stabilize flame in 10-20 mph wind. Master variable conditions with our windproof heat control guide.
I once cooked trout and asparagus for strangers at a mountain turnout using nothing more than a compact grill and a small cast-iron plate. Wind was whipping, but the heavy steel held a steady 450°F surface, and every fillet landed with repeatable golden crust. That's the kind of control you're after.
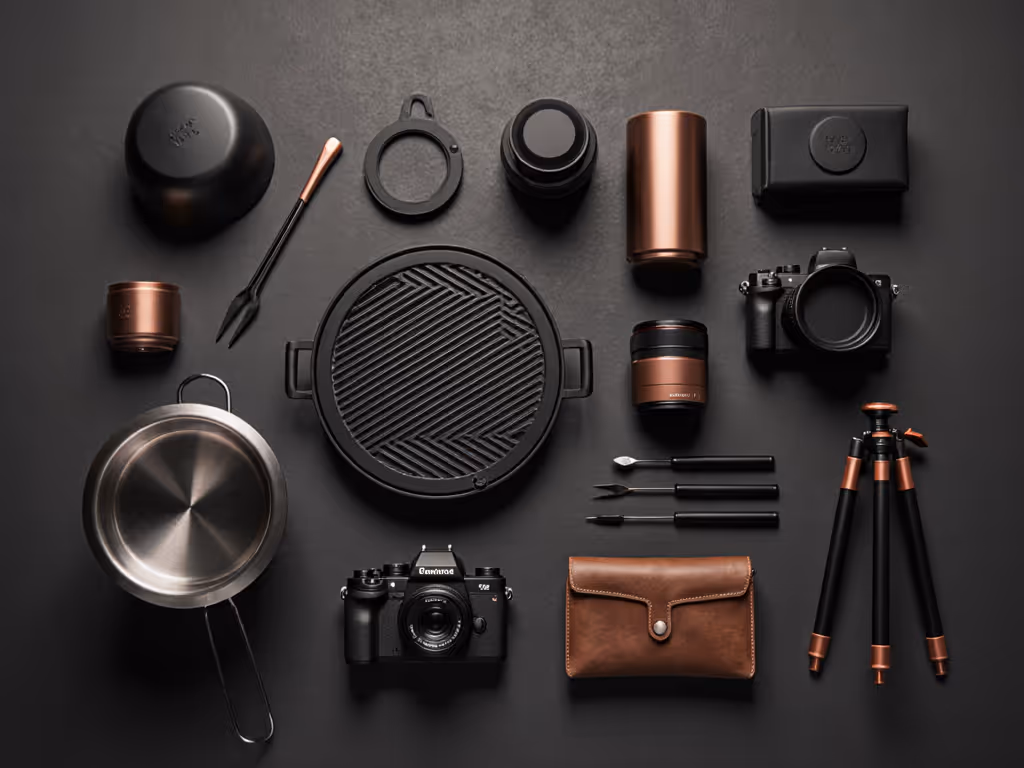
4.3 Photo and video module
This is where your food blogger equipment merges with your grill kit:
- Tripod or clamp mount that can safely sit 2-3 feet from the grill.
- White or silver bounce (folding reflector or even a white cutting board) to fill shadows on the food.
- Microfiber cloths to quickly clean smudges on handles and lids that catch light.
- Heat-tolerant surface (small metal or tile tray) for staging hot pans and props.
4.4 Pack and carry discipline
Aim for a single bin or backpack that holds everything except the grill itself:
- Label small pouches: "Fire", "Tools", "Clean", "Camera ancillary".
- Keep a printed or notes-app checklist. If one pouch is missing, you know what failed.
This is how you achieve that under-2-minute-from-parking-to-flame target without rummaging.
Step 5: Flare-free technique for clean food and clean frames
Even the best flare-up free grill can be overwhelmed by bad technique. Here's the field-tested sequence I teach for creators.
5.1 Prep for dry heat
- Trim excess surface fat on steaks and chops; leave internal marbling.
- Pat proteins dry before oiling; water steams, then explodes into flare when mixed with fat.
- Light oil on the food, not the grate - and very thin. Think 1 teaspoon per pound, max.
5.2 Build zones (even on small grills)
-
Gas:
-
Preheat on medium-high with lid closed until the grate hits ~450-500°F.
-
For multi-burner models: sear zone on high, holding zone on low/medium.
-
For single burners (like many travel grills): use front vs back of grate, front tends to run hotter.
-
Charcoal:
-
Bank coals to one side for direct heat.
-
Leave the other side coal-free for finishing and flare recovery.
5.3 Control the cook
- Start high-heat side down to get marks in 60-120 seconds.
- Rotate 90° midway on that side if you want crosshatch grill marks for photos.
- Move to cooler zone to finish to temp without burning exterior.
If a flare does pop:
- Do not spray water, that throws ash onto food and can crack grates.
- Move food to the cool zone and close the lid or partially close the vents (for charcoal). The flame starves in seconds.
This method keeps both your food and your footage clean. No out-of-control flames, no soot-stained proteins.
Step 6: Lighting and shot flow around the grill
You don't need elaborate photography lighting grills; you need to place a simple grill smartly inside the light you already have.
6.1 Position for light first, level ground second
- In daylight, avoid harsh overhead sun directly on chrome; it throws ugly highlights.
- Put the grill so you are between the sun and the food, using your body as a flag, then bounce some light back with a reflector or white board.
- Prioritize a stable surface, but if you can move 3-4 feet to get better light, do it.
6.2 Use the lid and props as reflectors
- A light-colored or stainless lid interior often works as a massive reflector when open halfway.
- Angle the lid so it throws light into the front of the grate, where your camera is.
6.3 Build a shot rhythm
Plan a repeatable sequence:
- Raw-on-grill shot: 10-15 seconds of protein hitting the grates, capturing the initial sizzle.
- First-flip close-up: show defined grill marks; this is where your heat discipline shows.
- Hero sear shot: quick B-roll of crusted side with a gentle squeeze of tongs.
- Off-grill carry: move to a prep board in the best light for slicing or plating.
This rhythm turns every cook into reusable content, not just a one-off story.
Step 7: Cleanup and pack-away in under 5 minutes
Creators often underestimate how much ash, grease, and soot management affects whether a grill actually gets used. For a deeper routine that keeps gear photo-ready, follow our portable grill cleaning guide.
7.1 Simple cleanup sequence
Right after cooking:
- Burn-off: Close lid, run burners on high 3-5 minutes (gas) or open vents fully for the same time (charcoal) to carbonize residue.
- Brush grates with a safe, bristle-free brush or a scraper while they're still hot.
- Empty or secure grease tray:
- For gas, pour into a sealable container or thick zip-top bag.
- For charcoal, knock ash into a foil-lined, lidded can.
7.2 Fast stow
- Use a heat-resistant mat or tray under the grill so you can move it sooner without marking tables or decks.
- For trunk travel, place the grill in a shallow bin or on a silicone mat to trap any residual grease.
With this routine, teardown takes under 5 minutes, keeping your car, pack, or van from smelling like an old fryer.
Summary and Final Verdict
For creators, the best portable travel grill isn't about winning a spec-sheet war, it's the one that integrates cleanly into your content workflow and storage reality while giving you predictable, flare-free heat.
- Car-based shooters and small families: A cart-style gas grill like the Weber Traveler delivers the closest thing to a home-grill experience with strong searing, great flare control, and a big enough grate for 4-6 portions on camera.
- Apartment, balcony, and picnic creators: Compact cube gas grills such as the Cuisinart Venture pack away neatly, set up in minutes, and double as prep stations, a smart nucleus for a streamlined content creator grill setup.
- Flavor- and atmosphere-first shooters: The Everdure Cube or similar portable charcoal units bring that live-coal glow and deep sear, as long as fire rules allow and you're willing to manage ash.
- Vehicle-based overlanders and tailgaters: Hitch-mounted rigs like the Hitchfire F-20 turn your car into a rolling grill platform, ideal if your brand story is built around the vehicle itself.
- Bike and ultra-mobile creators: Flat-pack grills solve the space problem while still delivering honest grill marks for 1-3 people.
Pair any of these with a small cast-iron plancha, a folding windscreen, and a disciplined pack system, and you'll have what I aim for in every build: pack-to-plate flavor, not fuss.
If you remember one thing, make it this: control beats size. Build a kit that lights fast, holds steady heat in real weather, cleans up quickly, and plays nicely with your camera. Small grill, big control, your food (and your feed) will show the difference.