Reverse Sear Perfect Steaks on Portable Grills
By Mateo Salazar • 8th Apr
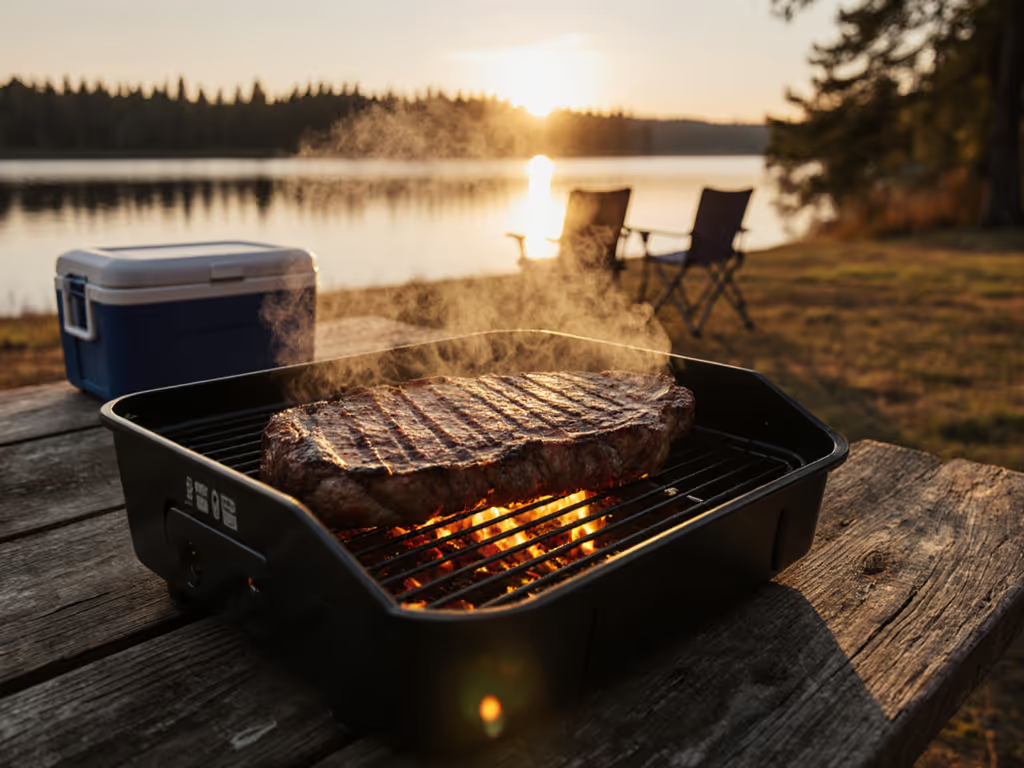
Steakhouse-quality results on a portable grill seem like a contradiction, until you flip the traditional method on its head. Reverse searing on portable travel grills is the difference between hoping for a perfect steak and knowing you'll deliver one. This technique doesn't just work in cramped spaces; it thrives in them because it solves the very constraints that break ordinary grilling: wind, uneven heat, and the race against inconsistent flame.
The Problem: Portable Grills Sabotage Steak Ambitions
You've packed light. Your grill fits the trunk. But then reality hits: a sear-first approach demands aggressive heat that portable rigs struggle to hold steady. Wind shears flames. Thin burners create hot spots. By the time you've fought for a proper crust, the interior is overcooked, or worse, the flame dies mid-sear and you're left flipping and hoping.
The stakes are high because meals in transit aren't just about food (they're moments). A Friday tailgate, a beach gathering, a van-life dinner at elevation. You're not just cooking for yourself; you're cooking for the group watching. If it fumbles, it fails (time is your hot coal).
That's where most portable cooks get stuck. They chase raw BTU specs they'll never use, ignore vent control, and default to techniques that demand perfect conditions on imperfect equipment.
Why Reverse Searing Solves Portable Grill Barriers
The method inverts the old order. Instead of searing first at high heat (the setup that fights your portable rig), you start low and slow, then finish with a quick, high-heat sear. This two-step workflow maps directly onto what portable grills do best: steady, predictable mid-range heat. It also builds in a margin of error that traditional grilling doesn't allow.
Here's why it works:
-
Even cooking edge to edge. Low-temperature cooking with oven or low-flame heat cooks the steak uniformly from center to crust. No gray bands. No guessing. The meat reaches your target doneness (around 125°F for medium-rare) with precision.
-
A crust that forms when you want it. The final sear (brief, aggressive) happens on a dry exterior. Moisture evaporates during the slow phase, so the last high-heat stage locks in the Maillard reaction instantly. This is the golden-brown, restaurant-caliber crust that makes people pause before cutting.
-
Low heat demand until the final moment. Your portable rig doesn't need to maintain a roaring 450°F sear zone for ten minutes. It maintains a moderate 225-275°F for the bulk of cooking, then cranks up for 60-90 seconds per side. That's a workflow your burner can sustain.
The Setup Timer: From Pack to Plate in Minutes
Reverse searing on a portable grill compresses into a two-phase rhythm. Here's a simple, reliable workflow:
Phase 1: The Slow Cook (10–15 minutes of active time)
-
Prep the steak (2 min). Pat dry with paper towel. Season both sides with salt and pepper. Thickness matters: minimum 1.5 inches. Thinner cuts will cook too fast and defeat the method. If time allows, place uncovered in a cooler or shaded spot to air-dry further (this helps the sear).
-
Set your grill to 225-275°F (1 min). For portable propane rigs, set the burner control to medium or medium-low. If using a portable charcoal setup, create a two-zone indirect heat area by pushing coals to one side. Preheat for 5 minutes. If wind, altitude, or cold sap your heat, master stable flames with our portable temperature control guide.
-
Place steak on the cool side (1 min). Set the steak on a grill grate over indirect heat. If your portable grill has a lid, close it. Leave it untouched for 10–15 minutes, depending on thickness and ambient temperature. Altitude and cold air will extend the time.
-
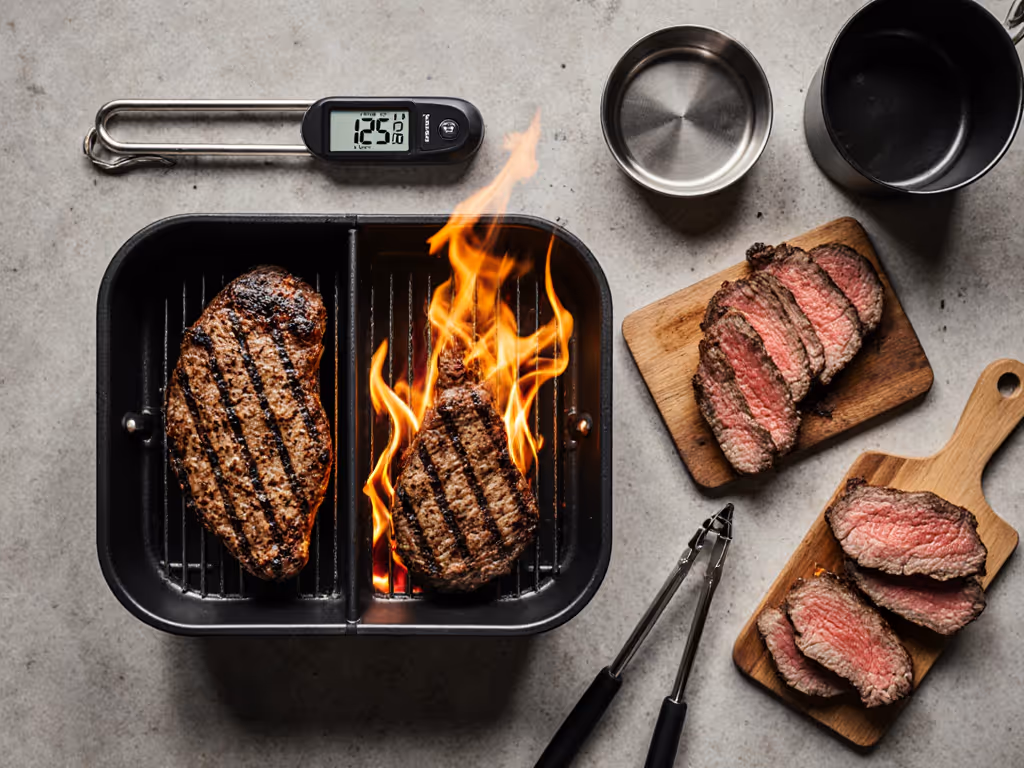
Check internal temp at 10 minutes (1 min). Use an instant-read thermometer on the thickest part. Target 100-115°F (about 30 degrees below final doneness). This signals "ready for the sear."
Phase 2: The Sear (3 minutes total)
-
Crank heat to maximum (1 min). Close the lid, increase burner output to high, and preheat for 1-2 minutes. If charcoal, push coals directly under the grate or prepare the direct-heat zone.
-
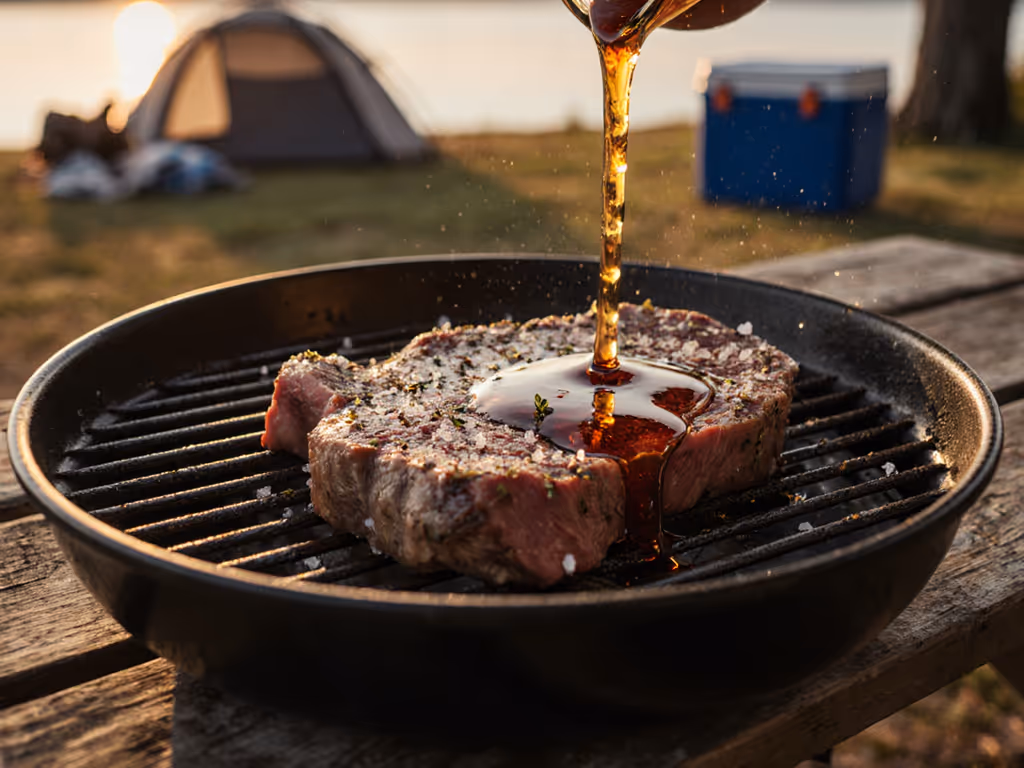
Sear both sides (2 min). Remove steak from cool zone. Place directly over high heat. Sear 60-90 seconds per side without moving. Add butter in the final 30 seconds if your burner can handle an open flame without sputtering (check your manual, some can't).
-
Check final temp: 125-130°F. Transfer to a rest plate. Internal temp climbs 3-5°F while resting, landing you at true medium-rare.
Total time: 15-20 minutes from flame-on to plate.
Why This Technique Beats Portable Grill Friction Points
Wind doesn't kill your sear. Because the majority of cooking happens at low-to-moderate flame, wind has minimal effect. You're not fighting to maintain a roaring flame for the whole cook. By the time you need peak heat for the crust, the steak is already at target doneness (the sear is cosmetic insurance, not a race against the clock).
Uneven burners become irrelevant. Portable grills often have hot and cool zones. Reverse searing leans into that unevenness by using the cool zone as a feature. You're not trying to force even heat across the whole surface; you're using indirect heat as your control lever.
You don't need a backup igniter. The low-heat phase is forgiving. A slight pressure drop or wind-killed flame leaves the steak at safe temperature. By the time you re-light for the sear, you've got a window of 5-10 minutes before the crust window closes. That's breathing room.
Execution Guardrails for Portable Rigs
-
Steak thickness is non-negotiable. Anything under 1.5 inches cooks too quickly and overshoots doneness before the sear step lands. If your meat is thin, use a traditional sear-first method or butterfly to create thickness.
-
Use a meat thermometer. On portable equipment with limited visibility and unpredictable heat zones, guessing by time or touch is a gamble. A $12 instant-read thermometer kills the guesswork.
-
Rest the steak. After the sear, move it to a clean plate or foil for 3–5 minutes. Carryover cooking finishes the rise; rest lets fibers reabsorb juices. Skip this, and you lose tenderness.
-
Choose appropriate cuts. Ribeye, New York strip, filet mignon, and porterhouse all excel with reverse sear. These cuts have fat and marbling that stays tender through the slow phase. Lean cuts can work but benefit from careful buttery basting during the sear.
-
Respect your grill's lid or wind management. If your rig has a lid or windscreen, use it during the low-heat phase. If it doesn't, position the steak to shield the flame from crosswind and monitor for flame-out. Adjust if needed (there's no penalty for re-lighting during phase 1). For gusty conditions, try these wind-control fixes for outdoor grilling.
The Confidence Factor
At that Friday tailgate, twenty hungry teens watched me unpack. The lighter in my kit was dead, but the piezo igniter on my portable grill clicked once and roared to life. I rested a 2-inch ribeye on the cool side, set a 15-minute timer on my phone, and started prepping sides. When the alarm went off, I cranked the heat, seared 90 seconds per side, and sliced. Burgers hit plates in six minutes. That moment crystallized my rule: muscle memory and clean layouts beat fancy features when eyes (and appetites) are on you.
Reverse searing isn't flashy. It won't top a YouTube highlight reel of giant flames. But it reliably delivers steakhouse results on equipment that wasn't designed for steakhouse results. It's a system that works, repeats, and turns a mobility-first cook into a trusted one.
Your Next Move
Start with a single thick-cut steak (1.5–2 inches) on your portable grill at your next outing. Follow the two-phase timer above. Track your actual times; portable setups vary by fuel type, ambient temp, and altitude. Write down your numbers (they become your playbook). Once you've executed reverse sear once, the second time takes half the mental load. By the third, it's reflex.
The steak that seemed impossible on a portable rig is now the meal that proves your setup works. From pack to plate in minutes, and no one doubts your equipment anymore (or your judgment).